What Is OpenArt? AI Image Generation and Editing, Pricing, and How to Use It
A beginner’s guide to generating images with OpenArt, editing specific areas, and reusing characters. Learn about free credits, how to assess plans, and what to check before finishing an image.
Information checked: November 5, 2026. This article is based on a review of the text on official pages. We did not generate or download images or compare image quality. Pricing, models, and terms of use may change, so check them again when using the service.
Introduction
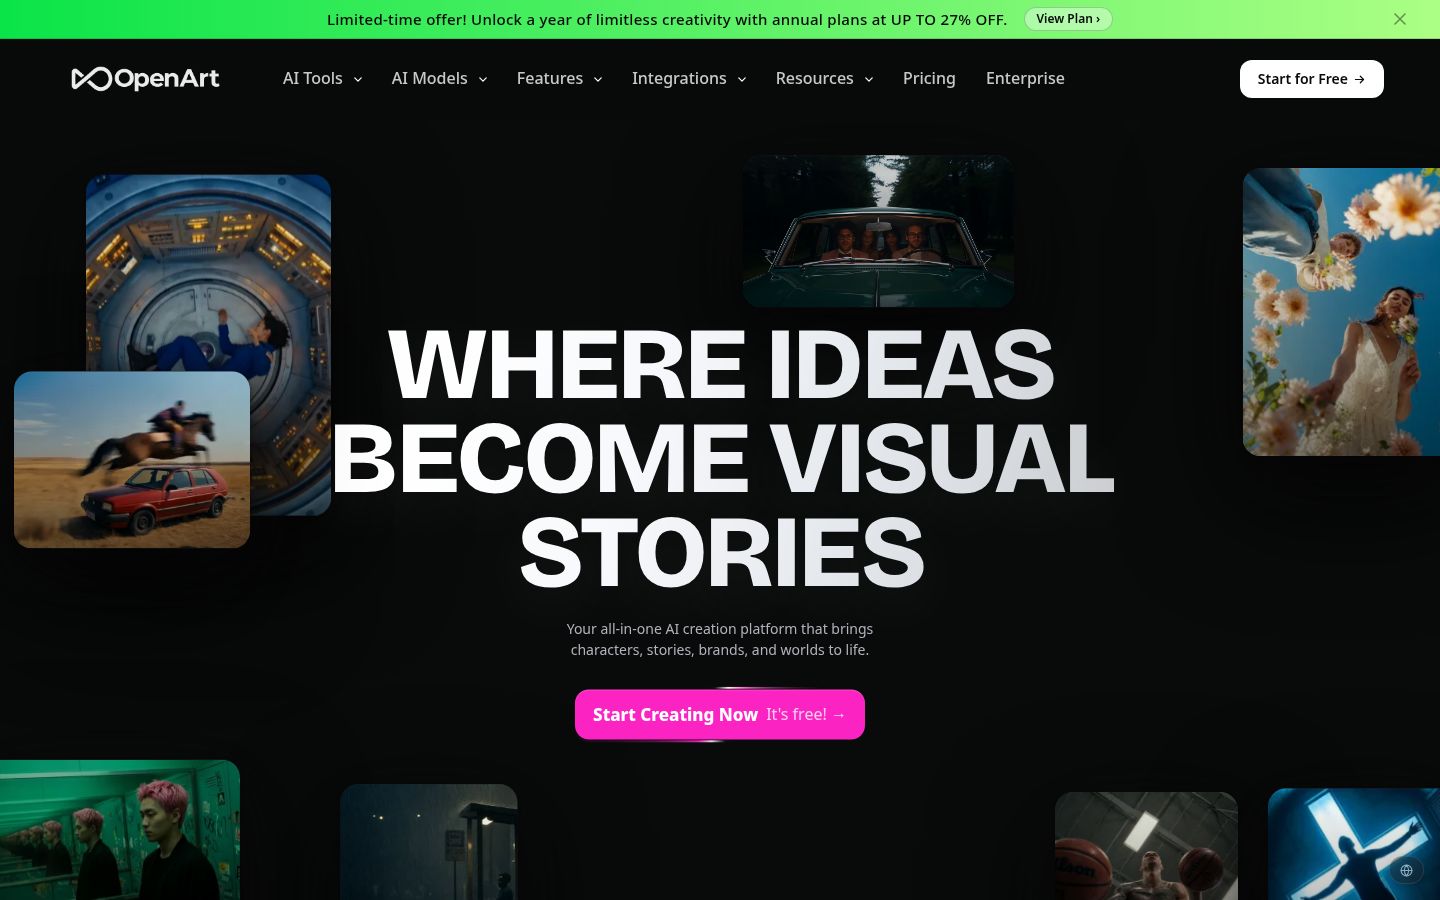
When creating a header image for a blog or a visual for a project, you may want to adjust the background or composition after generating the first image. OpenArt brings together image generation and editing with multiple AI models, along with video and character creation. OpenArt official website
Striking examples are not the only thing to consider when choosing a tool. What matters is the process of generating an image that suits your purpose, editing the areas that need work, and saving it in a usable form. This article focuses on image creation, explaining how to assess pricing and take your first image through to completion.
What is OpenArt?
OpenArt’s image generation guide describes two approaches: using text instructions and using reference images. The process involves choosing a model and settings such as the aspect ratio, then reviewing and refining the output. OpenArt also offers video, audio, and other features, but this article focuses on images as a starting point. Introduction to image generation
Our editorial team recommends first asking where your current creative process takes the most time, rather than whether AI can create anything. The features worth trying will depend on whether you are exploring compositions, looking for different backgrounds, or hoping to reuse the same character.
For an article header image, for example, you need a visual that conveys the topic and leaves room for the title. For a product feature, it is important to check that the product’s shape has not changed from the real thing. Defining a single use for the image helps you choose results based on more than personal taste.
What you can do: key features
Explore different directions with text or reference images
The official image generation page explains how to create images from prompts or reference photos and select models to compare. It suggests including details such as the subject, setting, lighting, and mood in your text. AI Image Generator
As an editorial example, instead of simply writing “a person working at a desk,” we would break the request into details such as “a desk with an open notebook, soft morning light, and space at the top for a heading.” This approach does not guarantee a particular result; it helps clarify what you will evaluate.
When using a reference image, put into words what you want to carry over from it. Deciding whether that means the composition, colors, or the shape of the subject makes it easier to work out what to change if the output differs from your expectations.
Edit specific areas
AI Photo Editor explains how to describe changes in text, select a region with Area Edit, or mark up an image with Annotate. It supports tasks such as changing backgrounds and adding or removing objects. Official guide to image editing
If the image is heading in the right direction overall, identify the problem before starting again from scratch. Be specific about the target of the change: the background if it is too busy, for example, or the area containing an unwanted prop.
Our editorial team recommends avoiding too many goals in a single edit. With instructions such as “make it brighter, change the angle, and change the clothes,” it becomes difficult to compare what improved and what got worse. Review changes in steps that let you see which adjustment made the image more usable.
Also inspect areas you did not intend to change. Compare the edited image with the original side by side to check, for example, whether adjusting the background altered the subject’s outline or added a new pattern to a product.
Save and reuse characters
The official character guide explains how to create a character from a reference image, text, or options in Character Builder, then select the saved character for another generation. This feature is intended for using the same person or mascot across different scenes. AI Character Generator
This is a feature worth trying if you want to use the same character in a series of articles or explanatory illustrations. Our editorial team recommends first establishing reference details such as the face and clothing, then checking how the character looks in the scenes you need, including front views, side views, and wider compositions.
Do not treat the official description of “consistency” as a guarantee that a character will be completely identical under every condition. You need to check the elements that matter to your work yourself, including the hairstyle, clothing colors, and accessories as well as the face.
If your aim is to reuse a character, choosing a single appealing image is not enough. Your evaluation criteria become clearer when you also consider whether readers will recognize the same character across several scenes shown together.
Refine resolution and detail
Image Upscaler increases image resolution. The official page describes Precise, Refined, and Creative modes, which differ in how closely they follow the original image, along with quality options. Image upscaling
Our editorial team recommends settling on the composition and content first, rather than assuming that upscaling will automatically make an image ready to use. Narrowing down your candidates before finishing them reduces the number of images you need to review, compared with enlarging options you will not use.
After upscaling, check the image as a whole as well as its details. Look for small patterns that have become more prominent than the main subject, or changes to the original image’s soft feel. It is important to preserve a look that suits your intended use.
Pricing plans
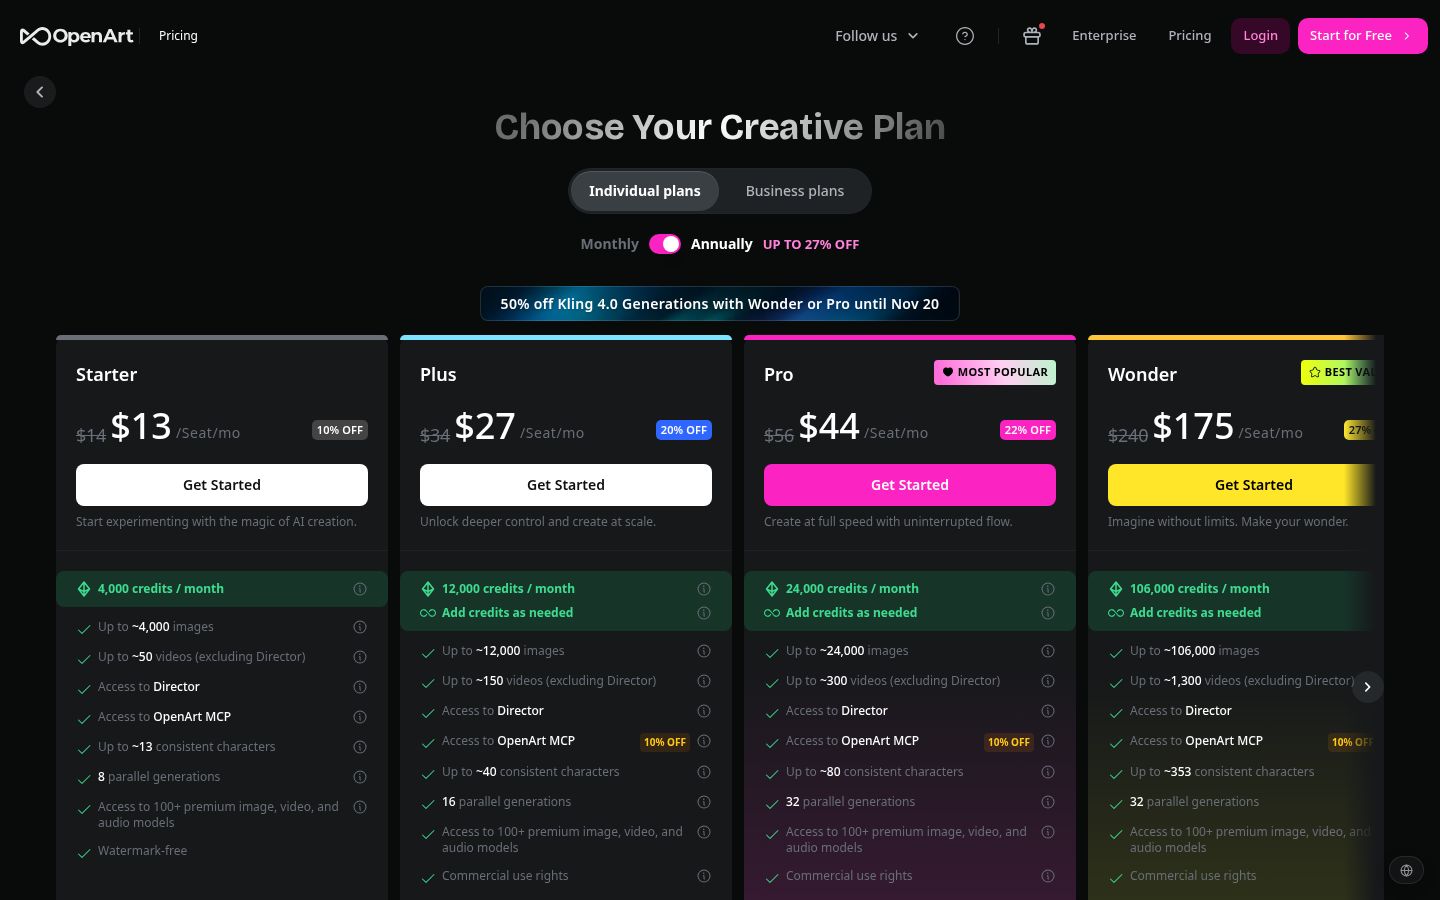
The pricing page we reviewed lists Starter, Plus, Pro, and Wonder plans for individuals. Because it includes monthly and annual billing options and discount displays, we have not presented displayed prices with an unconfirmed billing cycle as a single monthly rate. Instead, we focus on usage allowances. Official pricing
Plan | Listed monthly credits | What to consider |
|---|---|---|
Starter | 4,000 | Gauge your needs with small projects |
Plus | 12,000 | Assess your workload, including variations and edits |
Pro | 24,000 | Compare the allowance with your ongoing production needs |
Wonder | 106,000 | Check whether you really need a large usage allowance |
This table does not mean that each credit equals one finished image. The official help documentation explains that the credits required for generation and editing vary by model and tool, and that the amount needed is displayed on the screen where you run the task. How credits work
At first, account for the alternatives you compare and the edits you make, as well as the one image you eventually use. Our editorial team would record how many times we generated images for the same subject and which editing tools we used. Applying those results to your planned monthly workload gives you a more relevant basis for choosing a plan than simply looking at a maximum image count.
The official FAQ describes 40 trial credits for new signups and a seven-day trial period. It does not describe this as a free plan that replenishes the same allowance every month. Even when starting for free, check the expiration date and remaining credits shown in your account. Free trial FAQ
The documentation states that base monthly credits do not roll over to the following month. Separately purchased credits are covered by different explanations, so treat the base allowance and additional credits separately. The help documentation also retains some older plan names, so check the current subscription screen for the conditions governing additional purchases and plan changes. Billing and credits
For commercial use, the image generation introduction and pricing page indicate a requirement for Plus or higher, while the FAQ contains broader permission language. Because of this discrepancy, this article does not state that commercial use is available across all plans, including free access and Starter. If you plan to use the service for work, you need to check the latest terms for your chosen plan and model.
How to use OpenArt: create an image for an article
The following guide is based on the official generation and editing instructions. The example themes and evaluation criteria are suggestions from our editorial team, not results obtained by actually generating images in OpenArt.
1. Decide where the image will appear and what composition you need
Start by considering where you will place the image. For an article header, consider how it will look in a landscape format; on a smartphone, check whether the subject will still come across at a small size. If you will add text later, decide where you need empty space.
Focus on one theme for your trial. For an image representing “time for focused thinking,” for example, list the elements you need, such as a desk, notebook, and light. We recommend clarifying the main idea you want to convey rather than trying to fit every meaning into one image.
At this stage, also distinguish between requirements that must remain unchanged and elements you are free to explore. If you need an official company logo, for example, consider placing the correct asset separately rather than generating a similar shape within the image.
2. Prepare text or a reference image
The official instructions describe entering text on the image generation screen or uploading a reference image. They also explain how to use both together. Image generation instructions
Our editorial team’s example prompt is: “A wooden desk and an open notebook, soft light from a window, calm colors, and plenty of empty space on the right.” Describing the look you need in your own words, without relying on the names of particular artists, also makes it easier to identify what you want to change.
When preparing a reference image, choose material you are allowed to use. Establish criteria for reviewing the result—for example, whether a request to reference only the background has been interpreted as an intention to imitate the person as well.
3. Choose a model, aspect ratio, and number of images
The official guide describes setting options such as the model, aspect ratio, resolution, and number of images, then selecting Generate. Check the screen for the options available with your chosen model. Generation settings
We recommend starting with a small number of candidates to check the direction. If you make major changes to both the model and the text at once, it becomes difficult to tell what affected the result. Reviewing candidates under one set of conditions, then choosing one element to change next, makes comparison easier.
Check the required credits before running the task, too. It helps to look beyond your remaining balance, confirm how much the current settings will use, and leave room for the edits needed to finish the image.
4. Choose an overall direction and narrow down the changes
When reviewing the output, check in turn whether it conveys the theme, leaves enough empty space, and has a clear main subject. Starting with small details can make it harder to notice that the composition itself does not suit your purpose.
Once you have chosen a candidate, describe the areas you want to edit. The official Photo Editor instructions follow a sequence of loading an image, describing the changes, reviewing the generated result, and saving it. Editing instructions
If you only want to refine the background, make that goal clear in your instructions. Keep the original image and compare not just the edited area but also the subject and colors you wanted to preserve.
5. Finish at the required size and save
Consider upscaling if the image needs further finishing. The image generation page describes reviewing the result and downloading it in formats such as PNG or JPEG. Check the options shown when saving to see which formats are available. Guide to saving images
After saving, open the saved file rather than judging it only from the preview in the creation interface. Check that it has the intended aspect ratio, that outlines and text look natural, and that no necessary areas have been cropped out.
Including the intended use and version in the filename makes later replacements easier. Adding the generation date and time and the instructions you used to your production notes also gives you a reference when creating another size.
6. Check the image in its intended placement
Even if an image is easy to read on its own, its impression can change when paired with a title or button. Consider how it will look in the article, checking whether it makes text harder to read or creates expectations unrelated to the content.
When an image is displayed at a small size on a smartphone, large shapes and colors may stand out more than fine details. Our editorial team recommends making the final decision partly on whether the subject remains clear when the finished image is shown small.
Who it suits—and who it may not
In our editorial team’s view, OpenArt is worth considering for people who want to compare multiple image options and then edit specific areas. It also has clear features to explore if you want to use the same character in different scenes or work from a reference image to find a visual direction.
However, we do not recommend this approach for people who expect a finished result from a single instruction every time, or who do not want to spend any time checking details. If your work requires accurate product shapes or text, you need to include verification after generation in your process.
Also consider whether generating large numbers of images has become a goal in itself. More candidates mean more decisions if you have no criteria for choosing among them. Start with one use case and check whether you can take an image all the way through to selection for use.
How it compares with similar tools
Leonardo.Ai also offers generation from text and images, model selection, editing, and upscaling. Its official introduction describes creative features such as Omni editing and AI Canvas. Leonardo image generation
When comparing it with OpenArt, look beyond model names to how you specify areas to edit and how the character reuse process works. We have not conducted a hands-on comparison for this article, so we do not rank the tools by quality or speed.
Our editorial team suggests using the same subject to compare the full process, from initial generation through the necessary edits to saving. Consider the work and usage allowance needed to reach an image you judge usable, as well as the time it takes to generate the first result.
Things to keep in mind
If you present a generated result as a photograph of something real, check that it will not mislead viewers. In particular, avoid using an image that changes a product’s shape or features to describe the actual product.
At the time of our review, commercial use conditions differed between official pages. The help documentation also retained plan names that differed from the current pricing table. Rather than applying explanations for older plans directly to your current subscription, check the conditions you need under the current plan.
Examples shown in feature guides do not mean you will always get the same results. Evaluate the process through editing and saving, with the expectation that you will need to review results according to the model and instructions used.
Conclusion
OpenArt offers more to explore beyond generating an image, including edits to specific areas, character reuse, and finishing. Start by choosing one intended use and defining the conditions an image must meet to be usable. That will make it easier to assess the tool as you try it.
Consider pricing in terms of how credits relate to your production process. If you use the service for work, check the terms of use as well, and review the image as it will actually appear when published before calling it finished.