What Is Leonardo AI? A Guide to Image Generation, Editing, Pricing, and Visibility Settings
Explore Leonardo AI’s image generation, reference images, targeted edits, and token system, with steps to finish an image while checking free-tier limits and visibility settings.
Information checked: November 5, 2026. This article is based on a review of the text on official pages. We did not generate images, purchase a subscription, or publish anything. Prices are in US dollars, excluding tax.
Introduction
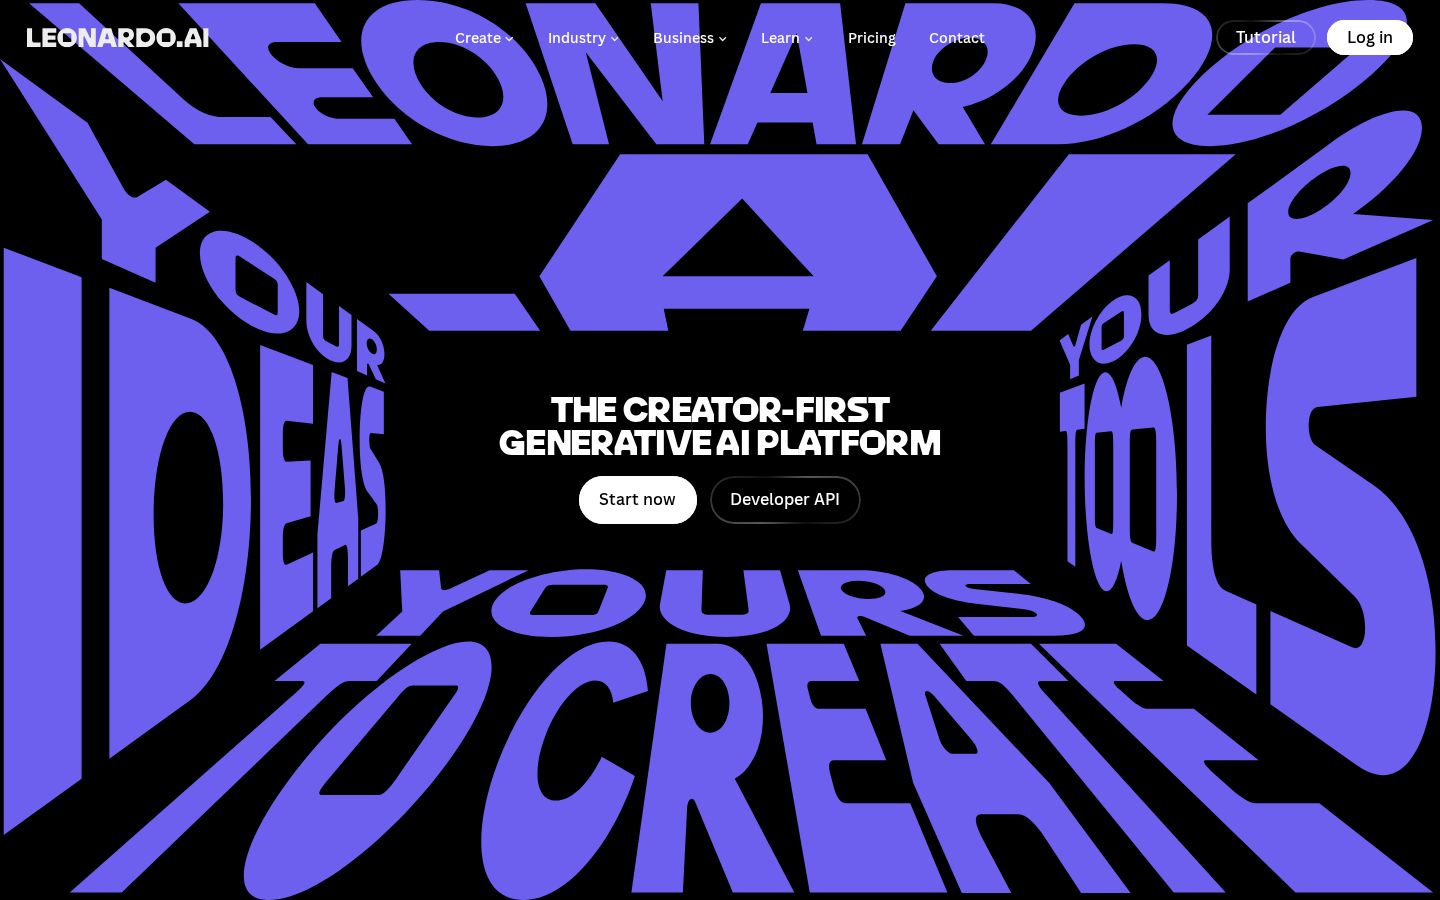
You want to create an image for an article or proposal, but you haven’t quite settled on a composition. Leonardo AI is a service that generates images from text or reference images, then lets you edit and upscale them. Its official website also describes video creation features. Official Leonardo AI website
Visual style isn’t the only thing to check before getting started. The tokens needed for generation, image visibility, and editing options also matter when deciding whether to keep using the service. This article covers features, pricing, and the workflow, using an article header image as an example.
What Is Leonardo AI?
Leonardo AI is a tool for creating visuals by describing what you want in text or providing an image as a reference. Its official image generation page describes a workflow in which you generate an image, edit it, upscale it, and download it. Image generation features
The TOOLPORT editorial team sees it as an option for comparing possible compositions and moods, rather than settling on a finished image in one attempt. Specifying the subject, background, colors, and empty space separately can also help you clarify what you want to change.
For an article header image, for example, visual appeal alone isn’t enough. You also need room for the title and a subject that remains recognizable on a small screen. Before repeatedly generating images without a clear purpose, write down the requirements for where the image will appear.
If the image includes people or products, consider which details need to remain accurate. An illustration intended to convey a mood calls for different checks than a photograph intended to explain the shape of a real object.
What You Can Do: Key Features
Create Options from Text or Reference Images
The official guide explains how to enter instructions in the input field on the home screen and how to select a model and image settings in AI Creation. Options such as aspect ratio, image size, and the number of images generated vary by model. Image generation steps
The TOOLPORT editorial team recommends building your first prompt in this order: subject, scene, composition, and color. For example, “a notebook on a desk, viewed from an angle above, empty space on the left, muted blue tones” breaks the requirements into short, clear elements.
This is a sample prompt written for this article, not an actual generation result. Don’t assume every instruction will be reflected in the output. Review the result and address missing elements one at a time.
When using a reference image, deciding whether you want to draw on its colors or the position of its subject gives you clearer criteria for evaluating the result. Before adding more reference material, make sure you can explain which features you want to preserve.
Modify Generated Images with Text Instructions
The guide to Omni models and Inline Editor explains how to select Edit on an image and enter instructions to change it. It also describes how to add another reference image and choose a model or the number of outputs. Omni and Inline Editor
The TOOLPORT editorial team recommends stating both what you want to change and what you want to keep. A prompt such as “make the background pale blue and keep the subject in the same position” helps focus your review. Check the subject’s shape and details as well as the background you changed.
Changing the colors, composition, and props all at once makes it harder to tell why an image improved or what went wrong. Once you have an image that looks usable, one approach is to focus on a single change at a time.
Start with Ready-Made Blueprints
Blueprints provide predefined inputs and creation workflows. You supply the required images or information, and the workflow produces images, videos, or both. Token usage varies by Blueprint. About Blueprints
The TOOLPORT editorial team sees these as a starting point when you find an example close to what you want to create. Even if a workflow requires few inputs, you still need to check whether its output suits your purpose. Look at the required materials, output format, and token usage as well as the example results.
Review and Export Your Generated Images
You can find generated images in your AI Creation history or Library, then proceed to editing, upscaling, downloading, and other actions. The official instructions show how to choose the next action from the menu on an image. Image generation steps
The TOOLPORT editorial team recommends settling on a composition before considering upscaling. Choosing the image you plan to publish and then checking its details makes it easier to stay focused than finishing every image before deciding which one to use.
Review the downloaded image at the size it will actually appear. An image may look impressive at a large size, but its subject could blend into the background or leave too little empty space when displayed smaller.
Pricing Plans
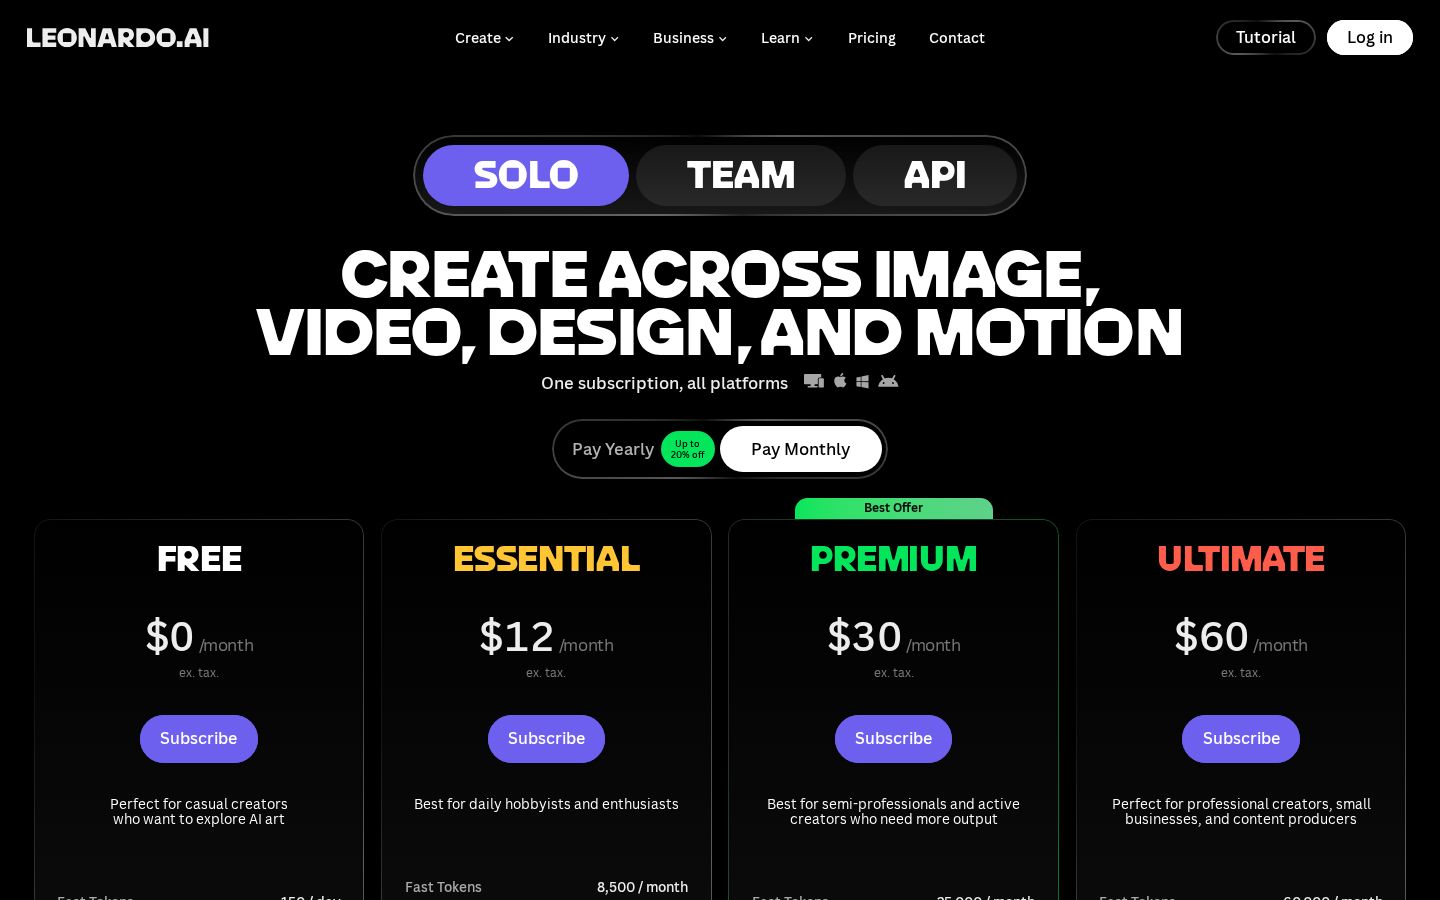
The official pricing page listed the following Solo plans with monthly billing. Annual billing, team plans, and API pricing are presented separately. Official pricing page
Plan | Listed monthly price | Base Fast Tokens allowance | Visibility settings at a glance |
|---|---|---|---|
Free | $0 | 150 per day | Public; Auto is the only model option |
Essential | $12/month | 8,500 per month | Private Mode available |
Premium | $30/month | 25,000 per month | Private Mode available |
Ultimate | $60/month | 60,000 per month | Private Mode available |
Premium and Ultimate are described as offering Relaxed generation for eligible models. However, eligibility and speed conditions apply, so this does not mean unlimited use of every model under the same conditions.
Tokens do not correspond directly to a number of images. The official FAQ explains that usage varies with the model, image size, number of images, reference images, and other factors. It also says you can check the required amount on the button before running a generation. Token FAQ
The free allowance resets daily, and unused tokens do not accumulate. Paid monthly allowances reset on the billing date, and the Token Bank that stores unused tokens has a limit. Check the conditions and waiting times for Relaxed generation as well.
The TOOLPORT editorial team recommends first deciding how many images you need for one round of options, then allowing for editing and finishing. Budgeting only for the number of finished images can overlook the tokens needed to compare and revise them.
If you use the free plan, visibility may matter more to your decision than the token allowance. Before uploading material that cannot yet be made public, review the visibility settings described below.
Step-by-Step Guide: Create an Article Header Image
The following steps explain the workflow based on the official guides. They are not a firsthand account of generating an image. For the editorial team’s example, we’ll use an illustration of a desk for a fictional article.
1. Define the Placement and Source Material Requirements
Start by identifying where the image will appear, its required aspect ratio, the subject, and the space needed for the title. If you don’t need to reproduce an actual product or person, an abstract illustration that supports the explanation is another option.
If you use a reference image, choose material you created yourself or have permission to use for the intended purpose. Avoid using a business partner’s unpublished materials or images you aren’t sure can be made public as test inputs.
2. Check the Visibility Settings
The official help explains that Private Mode is available to paid subscribers and makes generations private when enabled. Generations made with it turned off are treated as public, so don’t assume choosing a paid plan automatically makes them private. Public and private images
The TOOLPORT editorial team recommends including visibility settings in your checks before generating an image. Review the material, the account you’re using, and the settings together, rather than proceeding on the assumption that you can change visibility later.
3. Choose a Model and Image Settings
Open image generation in AI Creation and check the available models, aspect ratios, sizes, and number of images. The free plan uses Auto. Quality settings such as Fast and Ultra also vary by supported model. Image generation steps
The TOOLPORT editorial team suggests starting with settings that let you compare compositions, then considering finishing settings once you’ve narrowed down your options. If you switch models, review token usage as well, rather than assuming your previous settings will still apply.
4. Enter Your Prompt and Check Token Usage
Specify the subject, background, viewpoint, colors, and empty space. In this example, include only the information you need, focusing on “a desk with a notebook,” “viewed from an angle above,” and “empty space on the left for a title.”
Check the token usage shown on the generation button before proceeding. When comparing options, separating your goals—for example, comparing compositions or comparing colors—makes it easier to plan the next prompt than changing many elements at once.
5. Choose an Image and Make the Necessary Changes
Once the images are generated, check whether the subject is clear, whether there is room for the title, and whether any unwanted text or unnatural shapes appear. The guide describes selecting Edit on the image you want to revise and entering instructions for the changes. Editing guide
After editing, compare the whole image, not just the area you changed. Other parts need checking too: the background might improve while the subject’s shape changes. Keep the version you’re considering for use clearly distinguished from the image before editing.
6. Check the Image at Its Published Size and Save It
Once you’ve chosen an image, upscale it if needed and download it. Place it in the article and check the crop, any overlap with text, and how it looks on a smartphone.
The TOOLPORT editorial team also recommends briefly recording the image’s purpose, creation date, reference materials, and why you selected it. This makes it easier to carry those decisions forward when creating a similar composition for another article or replacing an image.
Who It Suits—and Who It May Not
The TOOLPORT editorial team considers it an option for people who want to describe an idea in words and explore compositions or colors, and who can review revisions after generation themselves. Possible uses include comparing options for a defined purpose, such as article illustrations or visuals for an early-stage proposal.
On the other hand, consider it carefully if you need a photograph that accurately records a real subject or want to publish images without reviewing them. For uses that show product details or a person’s identity, you need to decide in advance what the generated image must convey.
If you want to create privately while staying on the free plan, check whether the visibility conditions meet your needs. Rather than choosing on cost alone, prioritize whether the terms of use suit the materials you plan to upload.
How It Compares with Similar Tools
OpenArt, another tool worth comparing, also describes image generation, editing, reference image features, and video creation. The ability to generate images alone does not provide much basis for choosing between them. Official OpenArt website
The TOOLPORT editorial team recommends imagining a single image for the same purpose and comparing how you generate options from a prompt, make targeted edits, set visibility, and check usage allowances. Judge them by the tasks you’ll repeat, rather than assuming one always delivers higher quality.
Leonardo AI’s official guides explain image generation, Inline Editor, and Blueprints in separate workflows. Whether you prefer to write your own prompts freely or start with a predefined creation process can also help you choose where to begin.
Things to Keep in Mind
The official commercial use guide describes commercial use of images created on both free and paid plans. However, licensing for public images differs from the treatment of images generated privately on a paid plan. Commercial use explained
In particular, the visibility help page explains rights to use inputs and outputs that are currently public or were public in the past for purposes such as operating and improving the service. It is best not to assume that making something private later puts it in the same position as something that was private from the start. Visibility settings explained
The TOOLPORT editorial team treats the availability of commercial use guidance separately from whether every issue involving inputs and outputs has been resolved. Review permissions for source materials, the use of logos and people’s likenesses, and the rules of the publishing platform in light of your actual use.
Also check whether the generated image introduces any inaccuracies into the explanation. Make the image’s role clear within the article so that a fictional illustration is not presented as a record of a real place or product.
Conclusion
Leonardo AI is an option for creating images that lets you generate possibilities from text or reference images, then revise them with text instructions and finish them. Starting with one purpose and assessing composition, ease of editing, and token usage can help you decide whether to keep using it.
The free allowance is based on public generation, and even paid users need to check their Private Mode settings. Review pricing and visibility first, then choose the image to publish according to your own criteria.
Sources
The text of all sources was reviewed on November 5, 2026.