What Is VEED? A Simple Guide to Video Editing, Subtitles, Pricing, and Getting Started
Add subtitles to your footage, trim unwanted sections, and export your video. Explore VEED’s features, free plan limits, and the steps for your first edit.
Information checked on November 5, 2026. Features and pricing terms were verified against the text on official pages. Paid plan prices differ across pages, so we have omitted those amounts and recommend checking the latest signup screen. We have not tested the workflow hands-on.
Introduction
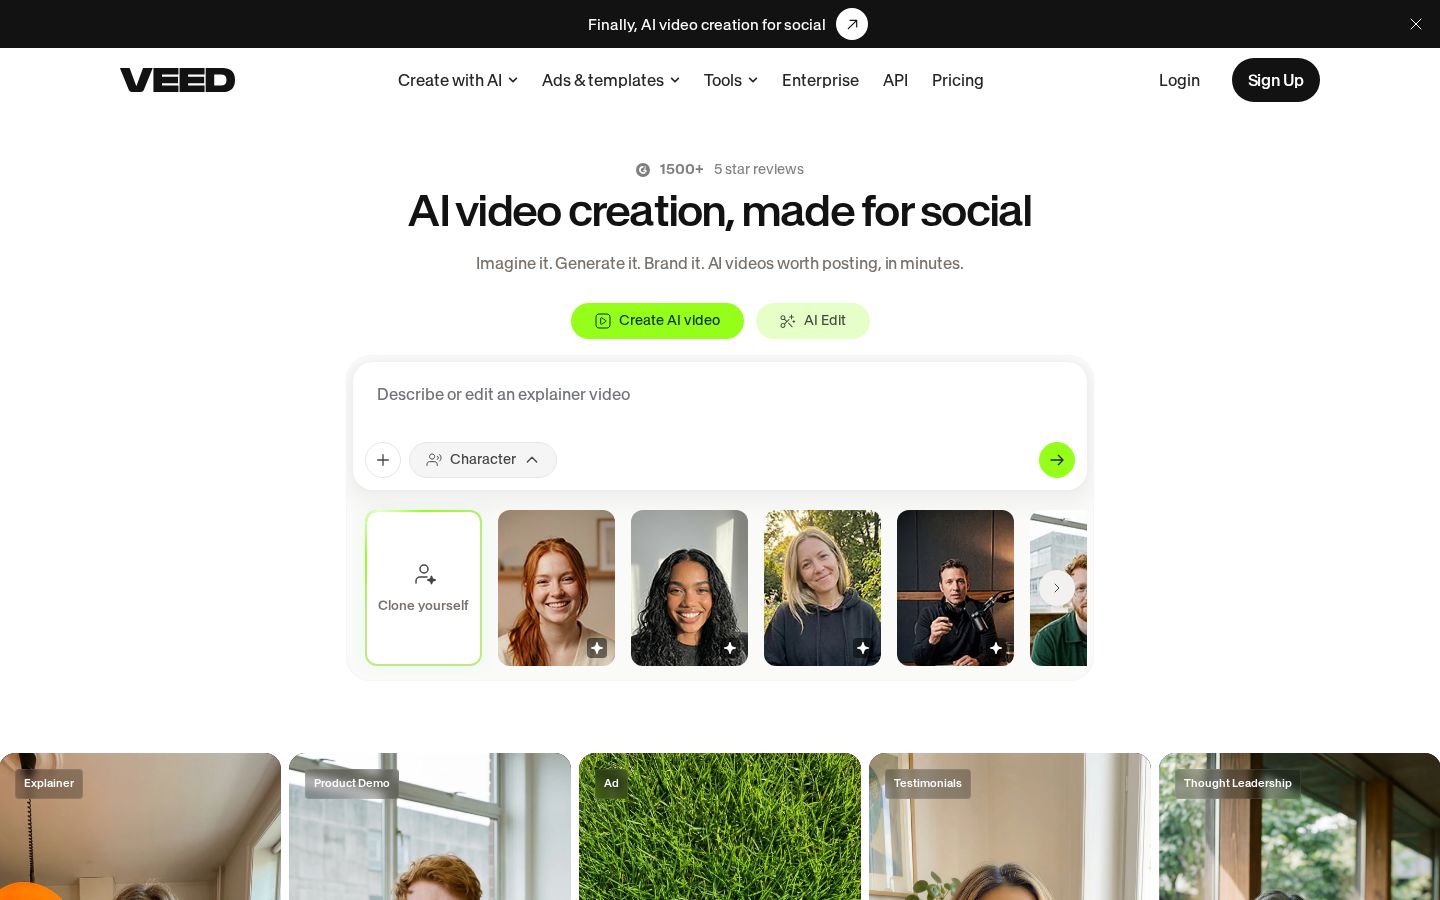
You want to shorten a video you’ve recorded, add subtitles to what’s being said, or tidy up the audio and text before saving a version for viewers. VEED is a video editing service that lets you do these tasks in your browser. Its official pages cover cutting and adding text, as well as automatic subtitles, transcript-based editing, and AI adjustments. Official video editing page
If you’re new to VEED, start by finishing one short video you already have. This article covers the basic workflow for creating a subtitled video, what you can try for free, and what to look for when considering a paid plan.
What Is VEED?
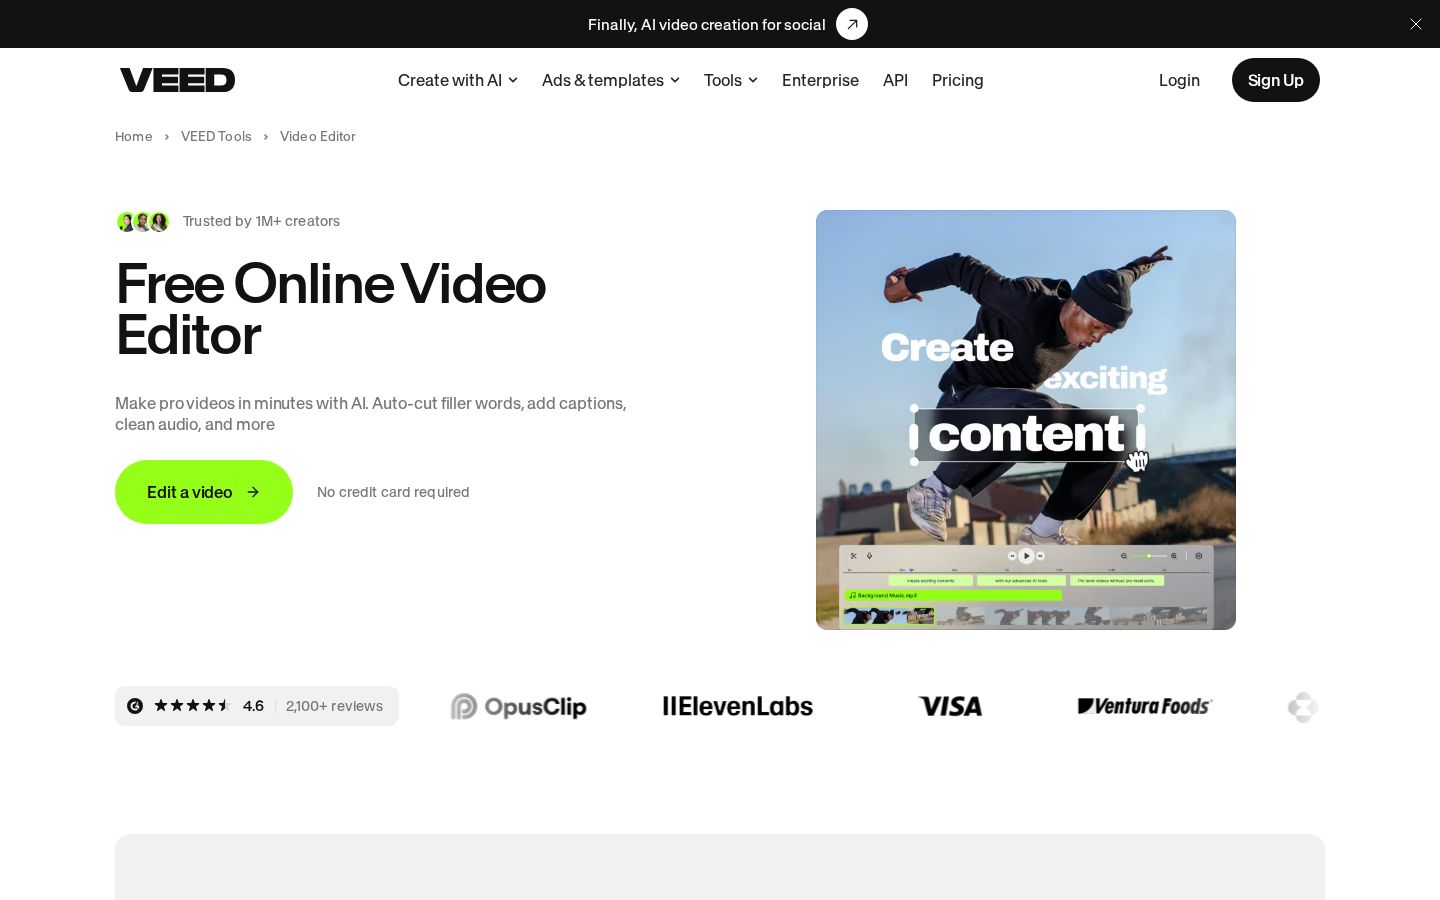
VEED’s online editor lets you trim and crop uploaded videos, rearrange clips, and add text, subtitles, and music. The basic workflow described on the official site is to import a video, edit and adjust it, then export it. Editing overview
For example, you could take a video demonstrating how to use a product, keep the scenes needed for the explanation, and subtitle the spoken content. This is a use case suggested by the editorial team. Thinking separately about what your video should say and how to refine its visuals and audio helps clarify where VEED fits into your workflow.
You don’t need to use every AI feature from the start. Give your video one clear purpose, cut unnecessary sections, and use text to fill in essential information. We recommend trying that process first, then adding features that prove useful for your work.
What You Can Do: Key Features
Generate Automatic Subtitles and Adjust Their Appearance
Automatic subtitles turn speech into text, and you can change their font, color, background, animation, and more. The official page explains how to burn subtitles into a video or export them as files in formats such as SRT, VTT, and TXT. Features such as downloading subtitle files are subject to paid plan requirements. Official automatic subtitles page
One thing the editorial team would focus on during a trial is how easy it is to correct automatically generated subtitles. Check company names, product names, and numbers, and make sure viewers have enough time to read the text. Styling can come afterward.
The same subtitles can be easier or harder to read depending on whether the scene behind them is bright or dark. Check them over the actual footage rather than choosing a style based on the text alone. Also review whether they obscure the speaker’s face or the product features you want to explain.
Edit Video While Reading the Transcript
Text Based Video Editing lets you remove unwanted sections using a transcript of the spoken content. The official page describes importing a video with dialogue, opening “Script,” and adjusting cuts by working with the text. Editing video through text
For videos centered on speech, reading the content as text can help you decide what to keep. When editing an interview, check how each question connects to its answer before cutting anything. Even when removing repeated takes or corrections, play back the video and audio to make sure you haven’t changed the speaker’s meaning.
Use Automatic Editing, Then Finish by Hand
Auto Edits offers adjustments such as audio enhancement, eye contact correction, and B-roll to add supplementary footage. The described workflow is to choose the video type, purpose, and format, import your footage, apply the automatic edits you need, and then make manual adjustments in the editor. Official automatic editing page
Even if an adjustment looks useful, we recommend choosing what serves your purpose rather than applying everything at once. For a video focused on what someone is saying, for example, check audio clarity and subtitles first. Judge whether added effects make it harder to see what you’re trying to explain.
Adjust the Frame for Where You’ll Post
The official page also introduces video resizing and Brand Kit, which manages logos, fonts, and brand colors. Brand Kit is described as a feature for paid users. Adjusting format and branding
If you’re making both vertical and horizontal versions, do more than change the frame: check that people and products still fit within it. Review subtitle placement against the footage as well. Once you’ve finished one version, it helps to include a step to check whether the video still makes sense in another format.
As an example of the editorial team’s review process, decide in advance how much emphasis to give facial expressions in the vertical version and the surrounding scene in the horizontal version. Check whether any explanatory text near the edges has been cut off, and whether repositioned subtitles overlap other information. After changing the original video’s aspect ratio, play back scenes where people or objects move, as well as the opening.
Pricing Plans
Start by Comparing Export Limits
The official help pages checked on November 5, 2026 list Free, Creator, Pro, Studio, and Enterprise. Their export resolutions differ as follows. Plan overview, Official export help
Plan | Maximum export resolution listed in official help | What to consider |
|---|---|---|
Free | 720p | Try the controls and editing workflow |
Creator | 1080p | Check whether it meets the resolution you need for your finished video |
Pro | 4K | Check usage allowances for the features you need, as well as resolution |
Studio | 4K | Check team size and usage terms |
Enterprise | 4K | Check whether the contract terms meet your organization’s requirements |
Videos exported with a free account or while logged out include a VEED watermark. A paid subscription is required to export without a watermark. Official watermark explanation
Check Paid Plan Prices on the Subscription Screen
The official video editing and subtitle pages show different starting prices, and the pricing page text we retrieved did not include a list of prices by plan. We have therefore not published any one of those amounts as the definitive current price. When comparing prices, make sure you’re checking the same plan, billing cycle, number of users, and currency. Pricing page
The pricing page FAQ explains that prices are displayed in local currency where supported and in US dollars otherwise. It also states that if you turn off automatic renewal, you can continue using paid features until the end of the billing period. Before subscribing, check both the initial payment amount and the terms for the next renewal. Billing and renewal explanation
Being able to edit for free and being able to export a finished video with your required specifications are separate considerations. If you need to deliver a watermark-free video for work, it’s a good idea to check export requirements before you start editing.
List the Tasks You Need Before Choosing
The editorial team recommends comparing video length, whether you need subtitles, whether you need separate subtitle files, resolution, and the number of people working on the project. Match the plan to the work you’ll actually do, rather than choosing a higher tier simply because it has more AI features.
For example, if you’re making a subtitled video for social media, check watermark conditions and how you can use subtitles first. If you need to pass subtitle files to another distribution system, consider whether burning them into the video is enough. Different uses require different deliverables, so check the workflow through export before deciding to keep using the service.
How to Use VEED: From Signup to Saving a Subtitled Video
1. Set Up Your Account and Workspace
Select “Sign Up” on the official website, choose a registration method, and set your name and workspace name. The official help lists registration through Google, Apple, Microsoft, or email. It advises using the same method to log in next time. Signup and login instructions
A workspace is where your projects are stored. Start with one practice video of your own and check where it is saved. If you’ll be working as a team, decide who will edit before reviewing the subscription terms.
2. Upload Your Video and Cut Unwanted Sections
Drag and drop your video to import it. The official page lists support for formats including MP4, MOV, and AVI. Cut unwanted sections on the timeline and arrange your clips in order. Basic video editing steps
For practice, choose a short video with a clear beginning and end to what’s being said. The editorial team suggests three checks: the opening makes clear what is being explained, essential statements remain, and the meaning stays intact throughout. Don’t make brevity the goal in itself; refine the video while preserving its message.
3. Generate Automatic Subtitles and Correct the Text
Select “Auto Subtitle” from the subtitles menu, specify the language being spoken, and generate the subtitles. Then review the text and adjust the font, color, and other settings. Steps for creating subtitles
The editorial team recommends correcting numbers and proper nouns first, then checking line breaks and placement. Even when editing spoken language for readability, avoid adding information to the subtitles that wasn’t said. Check that the context and qualifications remain clear when reading the subtitles alone.
4. Review the Video and Audio from Start to Finish
Use audio adjustments and supplementary footage as needed to bring the video closer to completion. The official workflow allows you to finish with manual adjustments after automatic processing. From automatic editing to finishing touches
At this stage, check whether the subtitles, visuals, and audio convey the same information. Is a different product on screen while one is being described? Do the subtitles change the meaning of what was said? If you’ve added music, also check that it hasn’t made the speech harder to hear.
5. Export and Download the MP4
The official help explains that you select the quality in the export options under “Settings,” proceed using “Done” in the upper right, and, once processing is complete, select MP4 through the download icon. Export instructions
Open the saved MP4 and play it from beginning to end. Don’t judge the result only by the video in the editor: use the actual file to check for cut-off subtitles, audio interruptions, watermarks, and framing. If you make corrections, export again and use a filename that clearly identifies the final version.
Who VEED Is and Isn’t Suited For
The following is the editorial team’s assessment based on the features and usage terms we checked.
A good fit for
- People who want to trim existing footage, add subtitles, and finish their video.
- People who want to edit interviews and similar videos using a transcript.
- People who want to fine-tune the details themselves after automatic editing.
Not a good fit for
- People who must be able to export watermark-free videos at no cost.
- People who need 1080p or 4K exports on a free plan.
- People who want to publish without reviewing the subtitles or cuts.
How It Differs from Similar Tools
invideo also combines AI with timeline editing. Its official website describes finding media through text and instructing an agent to make edits. VEED is a candidate to consider if your starting point is automatic subtitles, transcript-based editing, or finishing existing footage. invideo official website, VEED’s editing features
If you’re unsure which to choose, use one video from your usual footage and decide which parts of the work you want to automate. You can narrow down the features to compare by considering whether you need help structuring your footage or want to organize spoken content and present it with subtitles.
Things to Keep in Mind
Choosing a Higher Resolution Alone Won’t Make the Original Footage Sharper
The official export help explains that if the original video’s quality is lower than the selected resolution, export settings alone won’t improve it beyond its original quality. Consider both your source footage and your output settings when deciding how to achieve the quality you need. Video quality explanation
Export Again from the Original Project After Upgrading
Changing your subscription later won’t remove the watermark from a video file you exported while using the free plan. The official help explains that you need to export the original project again after upgrading to a paid plan. Watermarks and re-exporting
Check How the Finished Video Will Be Shared
Exported projects have visibility settings. When a project is set so that anyone with the link can view it, anyone who can access that link can watch it. Check saving the video file and sharing it online separately. Project visibility
The editorial team’s final check is whether viewers can follow the content without confusion. After watching with sound to review the flow, mute it and see whether the subtitles alone convey the key points. Also check text size at the screen size you expect viewers to use. Finish with the goal of making the intended information clear on the first viewing, rather than adding more decoration.
Summary
VEED is an option for people who want to edit recorded footage, refine subtitles and audio, and export a finished video. Use the free plan to try the controls, then consider a paid plan based on watermarks, resolution, and whether you need subtitle files. Working through to saving and playing back your first video will help you judge whether it fits your production needs.
Sources (Page Text Checked on November 5, 2026)
- Video Editor: Basic editing and supported formats.
- Auto Subtitle Generator: Subtitles, steps, and output formats.
- Text Based Video Editing: Editing through text.
- Auto Video Editor: Automatic editing and manual adjustments.
- Pricing: Currency and renewal FAQs. The retrieved page text did not include a table of prices by plan.
- Sign-up and Login: Registration methods and plan names.
- Export your project: Resolution, saving, video quality, and visibility.
- Watermark: Watermarks on the free plan. This page uses the name Lite, which differs from Creator in the signup and export help pages.
- invideo official website: Editing features used for comparison.