What Is invideo? AI Video Editing Features, Pricing, and How to Get Started
From organizing footage to AI generation and timeline editing, explore invideo’s features, pricing, and the steps to create your first video, based on official sources.
Information checked: November 5, 2026. Features and pricing are based on the text of official pages read that day. Check the latest pricing terms on the signup screen. We have not tested the service hands-on.
Introduction
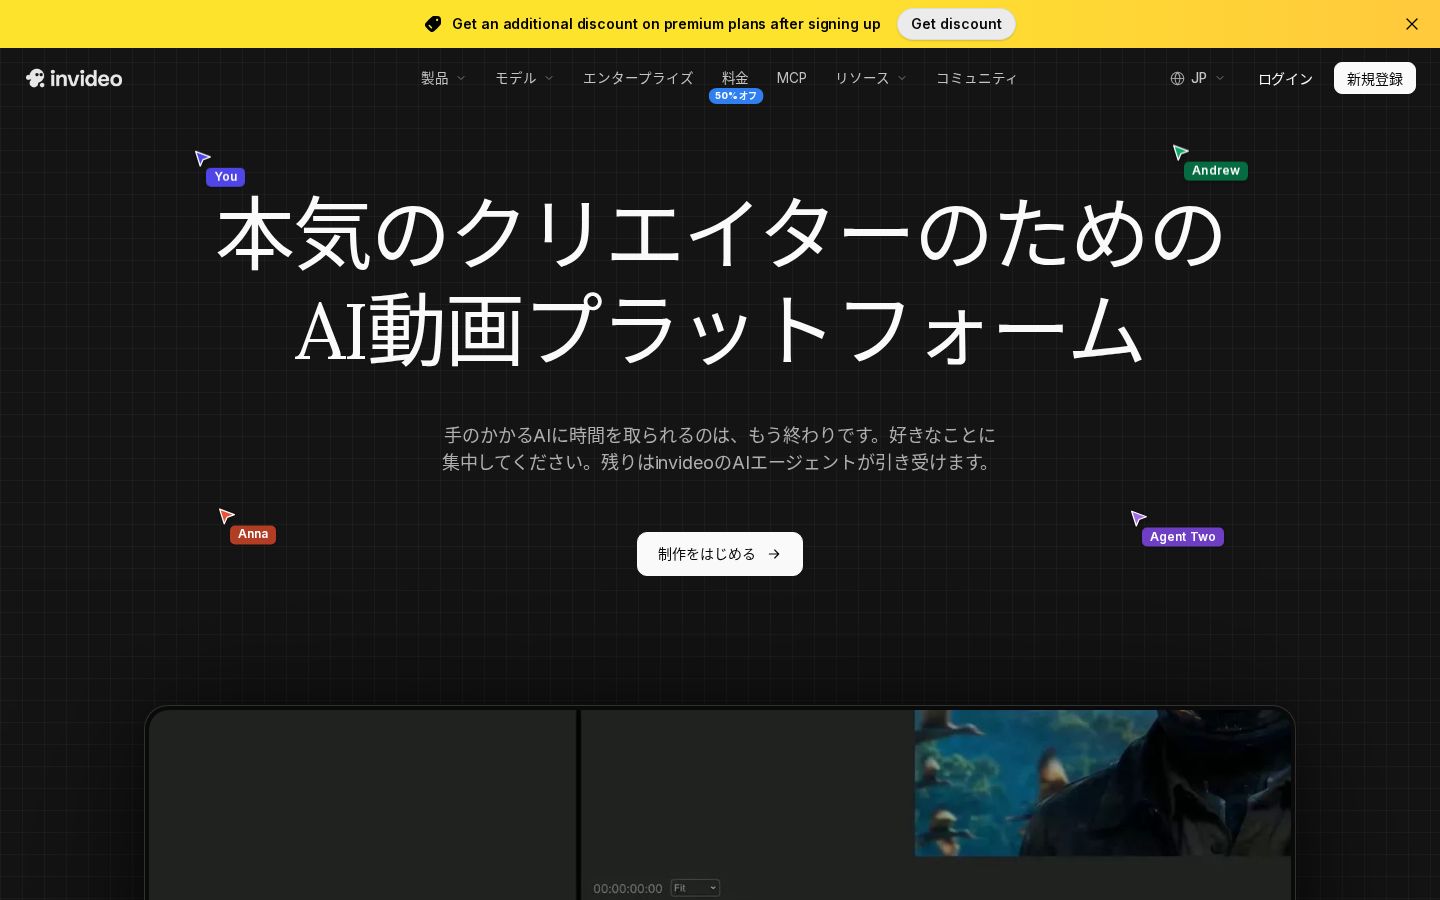
You have footage, but you get stuck finding and arranging the scenes you need. Even if you can generate assets with AI, you still have to turn them into a finished video. That is where invideo may be worth considering. Its current official website presents it as a video editing service that combines instructions to an AI agent with a timeline you can edit yourself. Official website
This article focuses on the process of uploading assets, explaining your editing goals, reviewing the results, and exporting the video. It is for anyone who wants to look beyond which models are available and consider the cost of regenerating assets and the review work they will need to do themselves.
What is invideo?
invideo is a service with an AI agent that accepts written editing instructions and a timeline for arranging video and audio in sequence. Its official page introduces features for searching uploaded assets, making changes across multiple shots, writing scripts, creating storyboards, and collaborative editing. A key feature is the ability to adjust AI-generated results yourself on the timeline. Feature overview
For example, to make a video introducing a store, you might first decide on a structure: exterior, interior, then products. You could then ask AI to organize your existing footage and assemble the cuts. This is an example from the editorial team, not a claim that a particular instruction will always produce the same video.
When choosing a tool, avoid judging it solely by its first generated result. Can you explain what you want changed? Can you bring the result back in line with your intentions? Can you review the whole video? Testing these three things with the kinds of videos you usually make will help you decide where it fits.
What it can do: key features
Find assets and edit multiple shots
The official website describes features that let you find the scenes you need by describing their content and apply editing instructions across multiple shots at once. A multitrack timeline also lets you take over edits that layer video and audio. Editing features
What you should test here is how broadly your instructions are applied. Before asking it to “shorten the opening,” for example, list the statements or shots of the product you want to keep. Checking that they are still there after the edit helps you avoid being satisfied simply because the video is shorter.
Plan the structure with scripts and storyboards before generating
The site introduces support for scriptwriting and features that turn ideas into shot-by-shot plans. The editorial team recommends starting with one line each for “Who will watch this?”, “What should they remember?”, and “What should they do after watching?” Script and storyboard overview
An explanation for someone unfamiliar with a product needs different assets from one aimed at someone considering a purchase. Reviewing the structure and removing unnecessary scenes before you start generating also makes it easier to explain what you want changed during revisions.
Bring image, video, and audio generation into the editing process
The official guide index outlines ways to combine video, image, audio, and music models with timeline editing. It also describes a workflow in which Agent Two assembles a first cut that you then refine on the timeline. Official guides
Even if you are short on assets, decide what a scene needs to do before generating more. The result you need will differ depending on whether you want visuals to support an explanation or a transition between scenes. If you are introducing a physical product, also check that generated assets do not misrepresent its appearance or specifications.
Pricing plans
Displayed prices with annual billing and monthly credits
The pricing page checked on November 5, 2026 displayed the following plans. Prices are in US dollars per seat per month, shown as monthly equivalents with annual billing. Starter and Plus were marked as 50% off, so these should not be treated as permanent prices. Official pricing page
Plan | Displayed monthly price per seat with annual billing | Monthly credits per seat | What to check when choosing |
|---|---|---|---|
Starter | US$10 | 400 | Agent Two Lite; limited to selected models |
Plus | US$30 | 2,000 | Lite, Pro, and Ultra; the range of available models |
Max | US$250 | 8,000 | Generation volume, seats needed, and higher credit allowances |
The table lists the first credit allowance displayed for each plan. Plus and Max also offer other allowance options. Do not interpret the monthly equivalent of an annual price as meaning that you only pay that amount each month. Check the contract period and total payment on the signup screen.

Credits are not the same as a number of videos
Credits are a usage allowance for generation and other tasks. The official help explains that consumption varies by model, length, and resolution, and that you can check the cost before confirming. Monthly subscription credits reset each month, even with annual billing, and unused credits do not roll over. Purchased top-up credits are described as valid for 12 months from purchase. How credits work
When estimating production volume, consider both the number of finished videos you will publish and how many times you will generate potential assets. Even if you publish only a few videos a month, for example, repeatedly generating the same scene makes the credits used per generation more relevant than the number of finished videos.
The editorial team recommends choosing one video you want to finish and first counting the scenes that will need generation. Separate scenes you can make with existing footage from those that need new visuals or audio. Then check the costs displayed for your chosen model and settings, and decide how many attempts to allow for.
For example, if you want to choose from several versions of an opening sequence, include the creation of those options in your production budget. Conversely, if you already have finalized product photos or audio, consider whether you need to recreate them each time. This is not a promise of lower costs; it is a way to clarify where you will use generation.
When choosing a plan for a team, start by listing who will edit at the same time and who will review the finished work. Because pricing depends on seat count, the contract terms you need to check differ between a single person producing videos and several people working together. Keeping the required headcount, usage allowance, and total payment in the same note helps you avoid comparing plans on their monthly equivalents alone.
The official help article “Plan Limits,” read on the same day, listed seat ranges per plan of 1–5 for Starter, 1–10 for Plus, and 1–20 for Max. The pricing page also stated that guest seats are unavailable on Starter. For team use, check on the signup screen that the number of seats you need falls within the plan’s limits. Plan limits
How to use it: from preparing assets to exporting
The steps below follow the workflow shown on the official homepage: upload assets, describe the edits, review the result, and export. This is not a hands-on review reproducing button locations or screens shown after login. Official production workflow
1. Choose your first video and the assets to use
Start with one short video. For practice, prepare footage you shot yourself or assets you have confirmed you can use. In the editorial team’s example, the goal is “a video introducing one product,” with separate assets showing the whole product, how it is used, and its features.
At this stage, also list the information the video must include. Writing down the product name, the features to communicate, and the closing message separately gives you a checklist for the finished video. It is important not to fill gaps in the source material with facts drawn solely from AI explanations.
2. Upload your assets and explain your editing goals
Start editing from the official website and upload the assets you have prepared. Then describe what you want edited and how. The official page describes a process in which you explain the edits in everyday language. Getting started with editing
When writing instructions, separate the purpose, sequence, and information to preserve. An example from the editorial team is: “Arrange the video in this order: the whole product, the product in use, then its features. Keep the shot where the product name is visible.” This illustrates how to think about structure; it does not guarantee the result or the quality of Japanese-language instructions.
3. Review the first cut
The official guide index describes a workflow in which Agent Two assembles your assets into an editable first cut that you then refine on the timeline. First-cut overview
When reviewing it, start by checking the sequence of the message rather than focusing on fine details of color or effects. Does the opening make the subject clear? Does the story jump abruptly in the middle? Is the necessary closing message there? Settling the structure before moving on to details makes it easier to keep revisions focused.
4. Be specific about where to edit and why
The official guides introduce an approach to instructions that specifies the timestamp, the change, and the creative intent. Revision instructions overview
An example from the editorial team is: “Keep the opening shot of the product on screen a little longer so viewers can see its shape.” State both the location and the reason. Simply saying “make it better” makes it harder to judge whether something you wanted to preserve has also changed. Avoid packing too many revisions into one request, and review whether the intended parts changed.
5. Play back and check the exported video
Once editing is complete, export the video. In addition to checking it in the editor, the editorial team recommends playing the exported video from start to finish. Check that text is readable, audio does not cut off, and the scenes you wanted to keep are included.
It also helps to decide on a review sequence. First, watch with sound to check the content and audio, then pause scenes with text to read it. Finally, watch the whole video from your intended audience’s perspective to see whether it makes sense without prior knowledge. The key is to check that the explanation is understandable to people other than the person who edited it.
For your first video, record more than just “it turned out well.” Briefly note whether you could find the scenes you wanted, whether revision instructions changed the intended parts, and what you had to fix manually at the end. This gives you a basis for deciding whether to delegate the same steps in your next video. If you compare working time, include the time spent reviewing and revising as well as waiting for generation.
During your trial, also keep a simple record of what you changed yourself between the initial instruction and the finished video. That record will help you decide which steps to delegate again next time and which you would prefer to adjust yourself.
Who it is—and is not—suited to
The following is the editorial team’s assessment based on the features and pricing terms we checked.
A good fit for
- People who want help organizing their footage and assembling a first cut.
- People who want to give instructions to AI and make the final adjustments on a timeline.
- People who want to connect scriptwriting, asset generation, and editing in one workflow.
Not a good fit for
- People who want to deliver generated output without reviewing it.
- People who need unused monthly subscription credits to roll over to the next month.
- People who want to use the service without checking costs for each model and generation setting.
How it differs from similar tools
VEED, another tool to consider, also offers timeline editing and AI generation. VEED’s official page introduces subtitles, audio adjustments, and transcript-based editing. invideo, meanwhile, emphasizes giving editing instructions to an agent and assembling a cut from your assets. VEED editing features, invideo features
A useful starting point for comparison is VEED if you want to finish videos for posting, including subtitles, and invideo if you want AI help organizing assets and assembling cuts. This is a way to choose based on feature descriptions, not a measured comparison of image quality or processing speed.
Things to keep in mind
Read any discount percentages or “unlimited” labels on the pricing page together with their scope and duration. At the time of our check, the pricing page described 30 days of access to eligible image models on annual plans. Do not interpret this as unlimited access to all video generation throughout the subscription period. Pricing and promotional terms
The official help says you can check your remaining credits by opening your profile in the top-right corner and going to Usage. Checking your balance before and after trying a task helps you understand how many credits it used and plan a budget for continued use. How to check your usage allowance
Conclusion
invideo is an option suited to a workflow in which you prepare assets, explain your editing goals to AI, and adjust the result yourself. Start with one short video to assess how it assembles cuts, how easily you can communicate revisions, and what generation costs. Your subscription decision should depend not just on the number of available models, but on which parts of your production process you can entrust to it.
Sources (page text checked on November 5, 2026)
- invideo official website: Features and production workflow.
- Official pricing page: Plans, displayed annual billing prices, and promotions.
- How Do Credits Work?: Credit consumption, resets, and top-ups.
- Plan Limits: Checking remaining allowances and seat counts by plan.
- Official guide index: Overviews of assembling cuts and giving revision instructions. The text of individual guides was not used as evidence.
- VEED Video Editor: Features of the comparison tool.