What Is Make? App Automation Features, Pricing, and How to Use It
Understand Make’s scenarios, modules, and credits, then build your first automation using an official example that sends notifications from Google Sheets to Slack.

Information checked: November 5, 2026. This article is based on a review of the text on official pages. We did not connect external apps or run any scenarios. Check the latest pricing terms when signing up.
Introduction
Spotting new information in a spreadsheet and copying it into a chat. Sharing the same details with another colleague. Make is a service that lets you build connections between apps to handle these repetitive tasks. Its official website describes automation that visually connects apps, data, and AI. Make official website
You don’t need to automate an entire business process from the outset. You can start by deciding on one thing: what event should trigger a transfer, which information to pass along, and where it should go. This article explains the basic terminology and how usage works, then walks through building a notification workflow using an official introductory example.
What Is Make?
In Make, a sequence of automated tasks is called a “scenario.” Each app’s individual task within it is a “module.” The official getting-started guide uses a scenario that detects new rows in Google Sheets and sends notifications to Slack. Your first scenario
In this example, you can think of detecting new spreadsheet rows and sending messages as separate tasks. Even when the modules are connected on screen, the content to send isn’t necessarily determined correctly on its own. Our editorial team recommends identifying the fields your work requires before deciding which apps to connect.
For example, when sharing an inquiry, you might need the date received, the details of the inquiry, and the person responsible. You may not, however, need to include every piece of personal information in the notification. Deciding what the next person needs in order to act helps narrow down both the setup and the checks required.
What You Can Do: Key Features
Connect a starting condition to the tasks that follow
A trigger starts a scenario when something happens, such as a form submission, an incoming email, or a new spreadsheet row. In the official guide’s Google Sheets example, you select Watch New Rows to monitor new rows. Add your first app
Our editorial team suggests writing the starting condition as a sentence to clarify it. Instead of “check it sometime each day,” define it as “when a new application row appears, notify the relevant channel once.” If the target and intended outcome remain vague, you won’t be able to tell whether the automation has achieved its purpose, even if it runs.
Also consider how you want to handle rows that don’t need a notification or are still being filled in. For your first prototype, keeping conditions simple and checking whether a single basic case works correctly makes it easier to identify what needs fixing.
Pass information from one task to the next
In Make, “mapping” means assigning one module’s output to another module’s input. In the official Slack example, you place values from Google Sheets in the appropriate parts of the message body. Mapping data
The key is to distinguish fixed text from values that change. “A new inquiry has arrived” can stay the same, while the name and inquiry details vary with each row. Our editorial team would first write a complete example notification and mark the parts to replace with data.
Check the spacing between first and last names, empty fields, and what happens when a field contains a long passage of text. Even if the content is correct, a hard-to-read notification still leaves extra work for the recipient. Evaluate your prototype not only on whether it copies the information, but also on whether the person receiving it can understand it.
Check inputs, outputs, and operation counts
Each module works with “bundles,” which are groups of data. The official help explains how to check inputs and outputs through the output display on a module, and how the number of data items can increase the number of downstream operations. Operations explained
This doesn’t mean that making two connections will always result in just two operations. If multiple data items come through from the start, the next task may process each one separately. You need to consider usage separately from how the workflow looks on screen.
Our editorial team recommends recording the number of items entered, the number received, and the displayed operation count side by side during testing. Rather than judging success from one item alone, check what changes when you process several. This makes it easier to anticipate how the workflow will behave in regular use.
Decide how often it should run
Scenario scheduling options include regular intervals, daily runs, and specific days of the week. The default interval is 15 minutes, and the shortest available interval depends on your plan. On demand waits for an action such as a manual run or an API call. Scheduling settings
Choose a frequency based on how long the work can wait, rather than assuming faster is always better. A summary that can wait until the next business day has different timing requirements from an intake process that needs to notify someone quickly. Our editorial team would decide on an acceptable waiting time before choosing a setting.
Pricing Plans
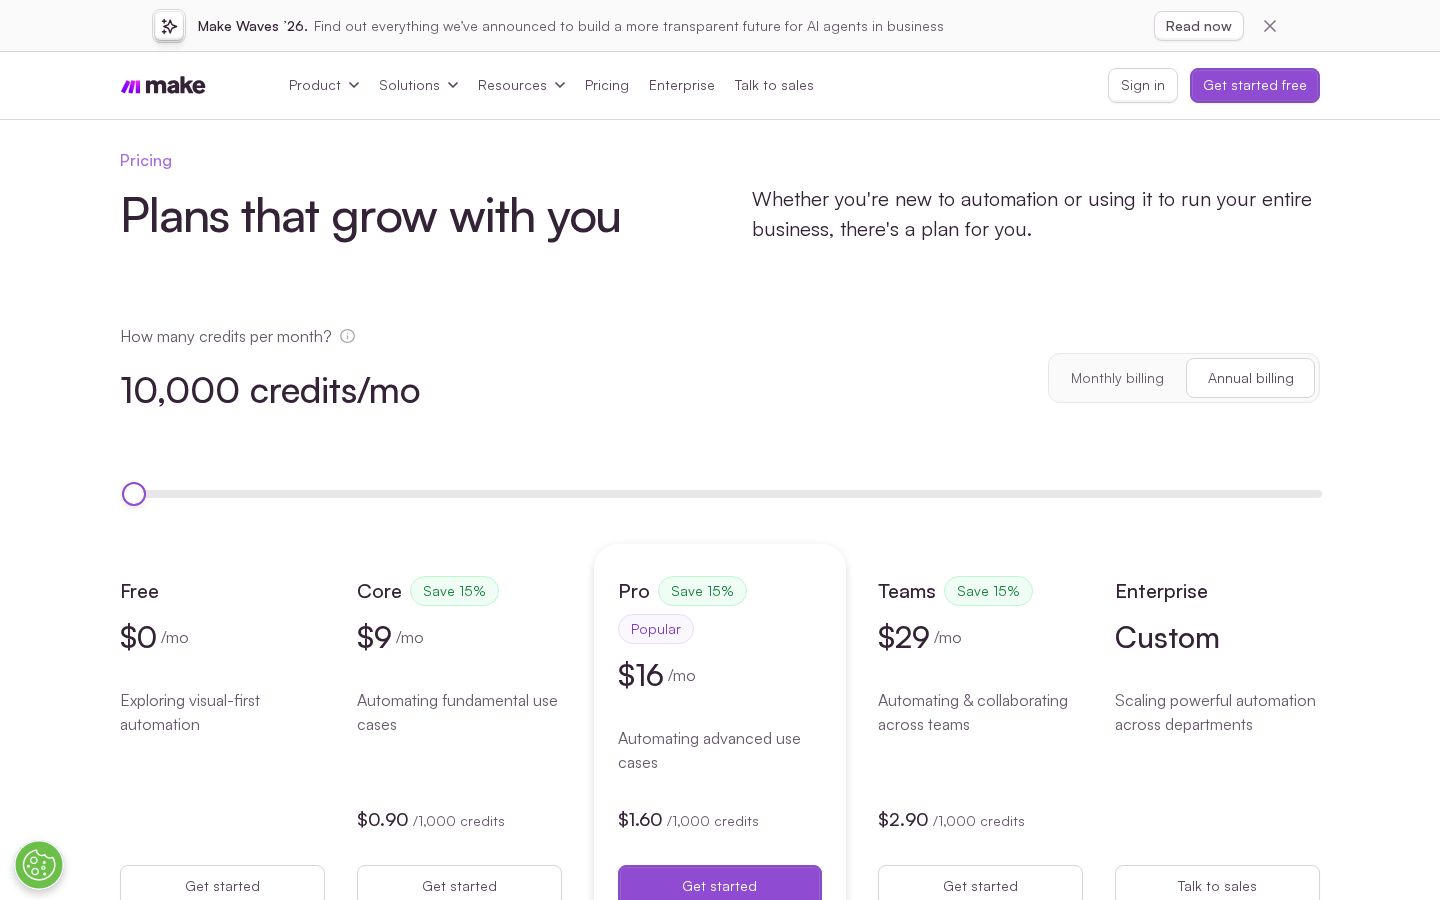
An official Make article lists 1,000 credits per month for Free and introduces Core, Pro, Teams, and Enterprise as paid options. During our review, we couldn’t consistently retrieve a current list of prices from the pricing page’s text, so this article does not quote specific prices for paid plans. Official plan overview / Pricing page
What to check | How to assess it |
|---|---|
Free allowance | Check the stated allowance of 1,000 credits per month |
Paid plan pricing | Check the selected credit allowance and billing cycle on the pricing screen |
Run frequency | Check whether the plan supports the interval you need |
External AI costs | Separate Make usage from external service charges |
Total operating costs | Allow for testing and adjustments as well as routine processing |
Not every action always consumes the same number of credits. According to the official help, one operation generally corresponds to one credit for non-AI apps. Some AI features, however, consume varying amounts based on factors such as tokens. Credits explained
When you use external AI through your own connection, some setups incur charges from the AI provider in addition to credits for Make’s processing. Don’t assume that having enough Make credits means all external service fees are included.
Our editorial team recommends checking how many credits a small prototype consumes before deciding on the allowance you need, rather than choosing a plan on the assumption that you can process your intended volume from the first month. Account for more than your usual input volume: consider month-end spikes and the work involved in changing settings and testing again.
When estimating monthly usage from the amount consumed per item, use figures measured in your own setup. Someone else’s example of “this was enough for a month” may involve different apps, frequencies, and volumes. Keeping a record of the assumptions behind your estimate also makes it easier to understand why usage has increased.
How to Use Make: Turn Spreadsheet Data into Notifications
The steps below follow the official guide. Before connecting apps or running the scenario, decide which data you may use and where notifications should go. Our editorial team did not connect external apps or send messages for this article.
1. Prepare a test spreadsheet and a sample notification
We recommend starting with a few rows of meaningful fictional data instead of real customer information. Align the column names with the notification text and decide where each field should appear. Include common situations you may encounter, such as a row containing only a name or one with an empty message field.
Write down your success criteria in advance, too. For example, defining success as “one notification arrives for each new row, and the required fields are displayed correctly and are readable” makes it easier to evaluate the setup. The key is not to treat the absence of an on-screen error as your only success criterion.
2. Create a scenario and add the first module
The official instructions start with Create a new scenario, which opens the editor, where you name the scenario. Use the add control in the center to find Google Sheets, then select Watch New Rows. Official instructions for adding a module
A name that identifies the input source and purpose makes the scenario easier to manage. Our editorial team’s example would be “Notify on new rows in test spreadsheet.” Names that distinguish prototypes from production scenarios help prevent confusion when you revisit the settings later.
3. Check which account you’re connecting
In the Google Sheets example, use Create a connection to set up a connection, select a Google account, and grant access. You can reuse the connection in later scenarios. Authentication methods vary by app. Official connection instructions
If you have both work and personal accounts, check that you’re using the account with the relevant spreadsheet. Confirming that authentication succeeded and confirming access to the intended data are separate checks. Including the purpose in the connection name also helps anyone reviewing the settings later understand what it is for.
4. Map values into the Slack notification
The official guide combines Slack’s Send a Message with the Google Sheets module, then sets the notification destination and message body. Insert values from the preceding module into the body, then save the module settings and the scenario. Official mapping instructions
Choose a test destination where it is appropriate to review the content. When writing the message body, match each field label to its value. Compare it with your sample notification to check that inquiry details and contact information haven’t been swapped, and that the message still makes sense when values are missing.
5. Run it once and check the results in both apps
When testing with Run once, open the modules’ output displays to inspect the processing, then compare the message received in Slack. The official guide’s example uses “All,” which includes existing rows, so make sure you understand the scope of the data before running it. Testing a scenario
Remember that a test still sends real notifications. If the result differs from what you expected, check the spreadsheet values, the preceding module’s output, the following module’s input, and the final notification in that order. This helps identify where the mismatch occurred without rebuilding everything from scratch.
6. Set the frequency and document who will manage it
Once the content and item counts match your expectations, set the schedule you need. In the official guide, you save the settings and then activate the scenario. Setting up scheduled runs
Before putting it into use, our editorial team recommends deciding who will investigate if notifications stop and whom to contact about configuration changes. If only the person who built the automation understands it, handing it over becomes difficult. Keep a short note of the input source, notification destination, frequency, and expected volume.
Who Make Is—and Isn’t—Suited For
In our editorial team’s view, Make is an option worth considering if you copy the same information between multiple apps and can clearly describe the inputs and intended results. It may also be a good fit if you want to start with a small setup and improve it while checking inputs and outputs.
On the other hand, if you haven’t established the criteria for making decisions in your work and can’t explain what counts as completion, you need to clarify the process first. If you want to hand everything over without ever checking how it works or what it costs, the ongoing management required may not match your expectations.
The value of automation isn’t determined solely by how many apps you connect. We recommend assessing it in the context of the actual work: does it help someone review information sooner, for example, or make missed entries easier to spot?
How It Compares with Similar Tools
Zapier also offers workflows that connect apps, and its official page describes features such as conditional branching, data formatting, and scheduling. For Make, this article’s introductory example has shown how to build a workflow while inspecting the modules and bundles in a scenario. Zapier workflows
Judge which is easier based on the apps you want to use and the tasks you need to perform. Our editorial team would compare both using the same task—sending a notification for a spreadsheet row—and examine how connections are made, fields are selected, results are checked, and pricing is calculated. It’s important not to base your conclusion solely on the total number of supported apps.
Things to Keep in Mind
You can’t determine usage from the number of scenarios or modules alone. Consider the data volume, run frequency, and, if you use AI, how consumption is calculated. The official explanations of Credits and Operations cover different concepts, so avoid applying the “operation counts” in older articles directly to current pricing.
Changes to spreadsheet columns or how a notification destination is used can also mean revisiting a setup that previously worked correctly. As an operating practice, our editorial team suggests establishing a procedure to check notification content whenever the source data format changes.
Even after automation is in place, check whether the information remains useful to recipients. If notifications are so frequent that people stop reading them, there may be room to rethink the workflow, regardless of whether messages are being sent successfully.
Summary
Make lets you assemble tasks between apps into scenarios and develop automations while checking their inputs and outputs. Starting with a small task that has a clear input source and notification destination makes it easier to understand the relationship between modules, mapping, and credits.
Don’t stop at making the connection. Check whether the necessary information arrives and whether the number of items processed and the usage match your expectations. We recommend using those results to decide whether to expand the scope of the automation or move to a larger plan.